This
week I decided to show you how to make some potatoes. I had 3
varieties in my pantry so that is what I am demonstrating how to
make. You can make whatever variety of potato you want although it is
easier if you have the potato in front of you.
The
basics are going to be the same, so take what I show you on these
three and adapt it to your favorite variety.
For
the base clay mixture for most of the potatoes I used a combination
of equal parts White Fimo and Transparent White Fimo with just a bit
of Yellow Ocher Fimo to warm it up a bit. For the Yukon Gold potatoes
I replaced the Ocher with some Premo Cadmium Yellow. Be very careful
with adding the yellow a little bit goes a long, long way. I ended up
with one batch that was way too yellow and had to start over. So be
patient and add just a bit of yellow to your white/transparent
mixture. Also be aware that the Premo will make your clay mixture
much stickier than the straight Fimo.
I
decided to use the Artist Loft chalks, which I believe is a Michael's
store brand. I find them to be a very useful set of chalks for
several reasons. I love the sheer number of colors (36 in my set) and
the fact they are not too overly pigmented. I pull out this set of
chalk when I want a lighter touch with the chalk application. I
actually have several sets of chalks of different brands and use them
depending on how much coverage I want to achieve.
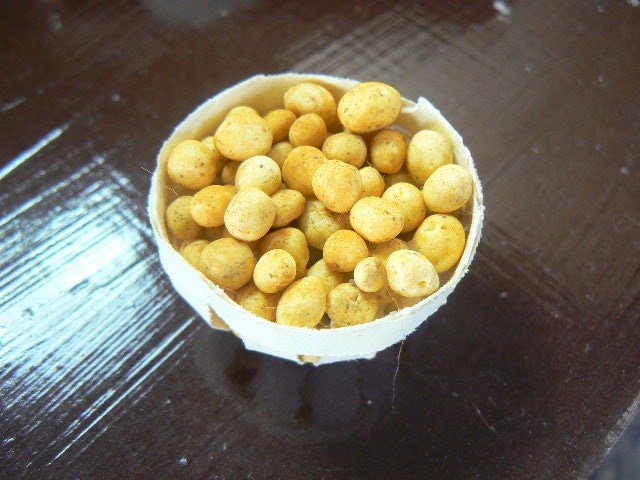
In
making potatoes remember that they are a product of nature and
therefore not perfectly shaped. They are not perfect balls. They have
eyes (the spots where roots can grow) they can dents and scars. I
found the simple toothpick to be the best tool for adding these spots
to my potatoes.
I
need to come up with a larger basket for the russet potatoes and made
up on really quickly the same way I have been making the smaller
baskets. After filling it I find the cardstock was not heavy enough
to support the size. I will need to figure out a fix for that soon,
or else just stick that basket in a corner of the produce stand.
We
now have a lot of variety on produce in our little stand. I will
continue to work on some more for a while and then I think we will
move on to other things at least for some weeks. I also really need
to get the structure of the produce stand built so I know how much
produce it will hold.
 |
| the red potatoes |
 |
| russets |
 |
| Yukon gold |


No comments:
Post a Comment